How to Best Use a Photo Box
If you’re in an are that, well, gets cold during a part of the year—which I assume you are—and you’re looking for a way to keep you photography work rolling in, a great way to do this is with a photo box.
A photo box is a fantastic way to not only keep photography for your website rolling in when you’re unable, or uninspired to get out and take shots, but to take advantage of other avenues is provides. From product photography, to the ability to capture new angles on old objects, this can be a fantastic opportunity to expand your portfolio.
That being said, it’s key to ensure you use your photo box to its true potential.
Make Sure Your Canvas, and Photo Box Are Clean
Using a photo box for website imaging is a great tactic, however it should be noted that these are instruments that need one thing: detail.
First and foremost, one of the biggest mistakes I see, even in my own photography, is when I don’t properly clean the background cloth, and item itself, before shooting. It can be as simple as dusting, dabbing with water. But if you don’t take these steps, you’re going to notice hair, dust, and other imperfections in your final product. And if you don’t catch these before takedown, you may have your entire batch of photos ruined.
Experiment With Lighting You Couldn’t Normally Achieve
When finding a basic photo box, it’s very common to find a kit that comes with its own lighting. These are great to have, and perfect for starting photo box imaging—however, don’t get stuck in the rut of typical lighting.
When setting up your shot, learn how to use basic lighting, but the don’t be afraid to experiment with different setups. To me, this has even included the use of no lighting at all. The great thing about a photo box setup is that it gives you the freedom to try new things, see what works, and is a controlled situation where you creativity can flow.
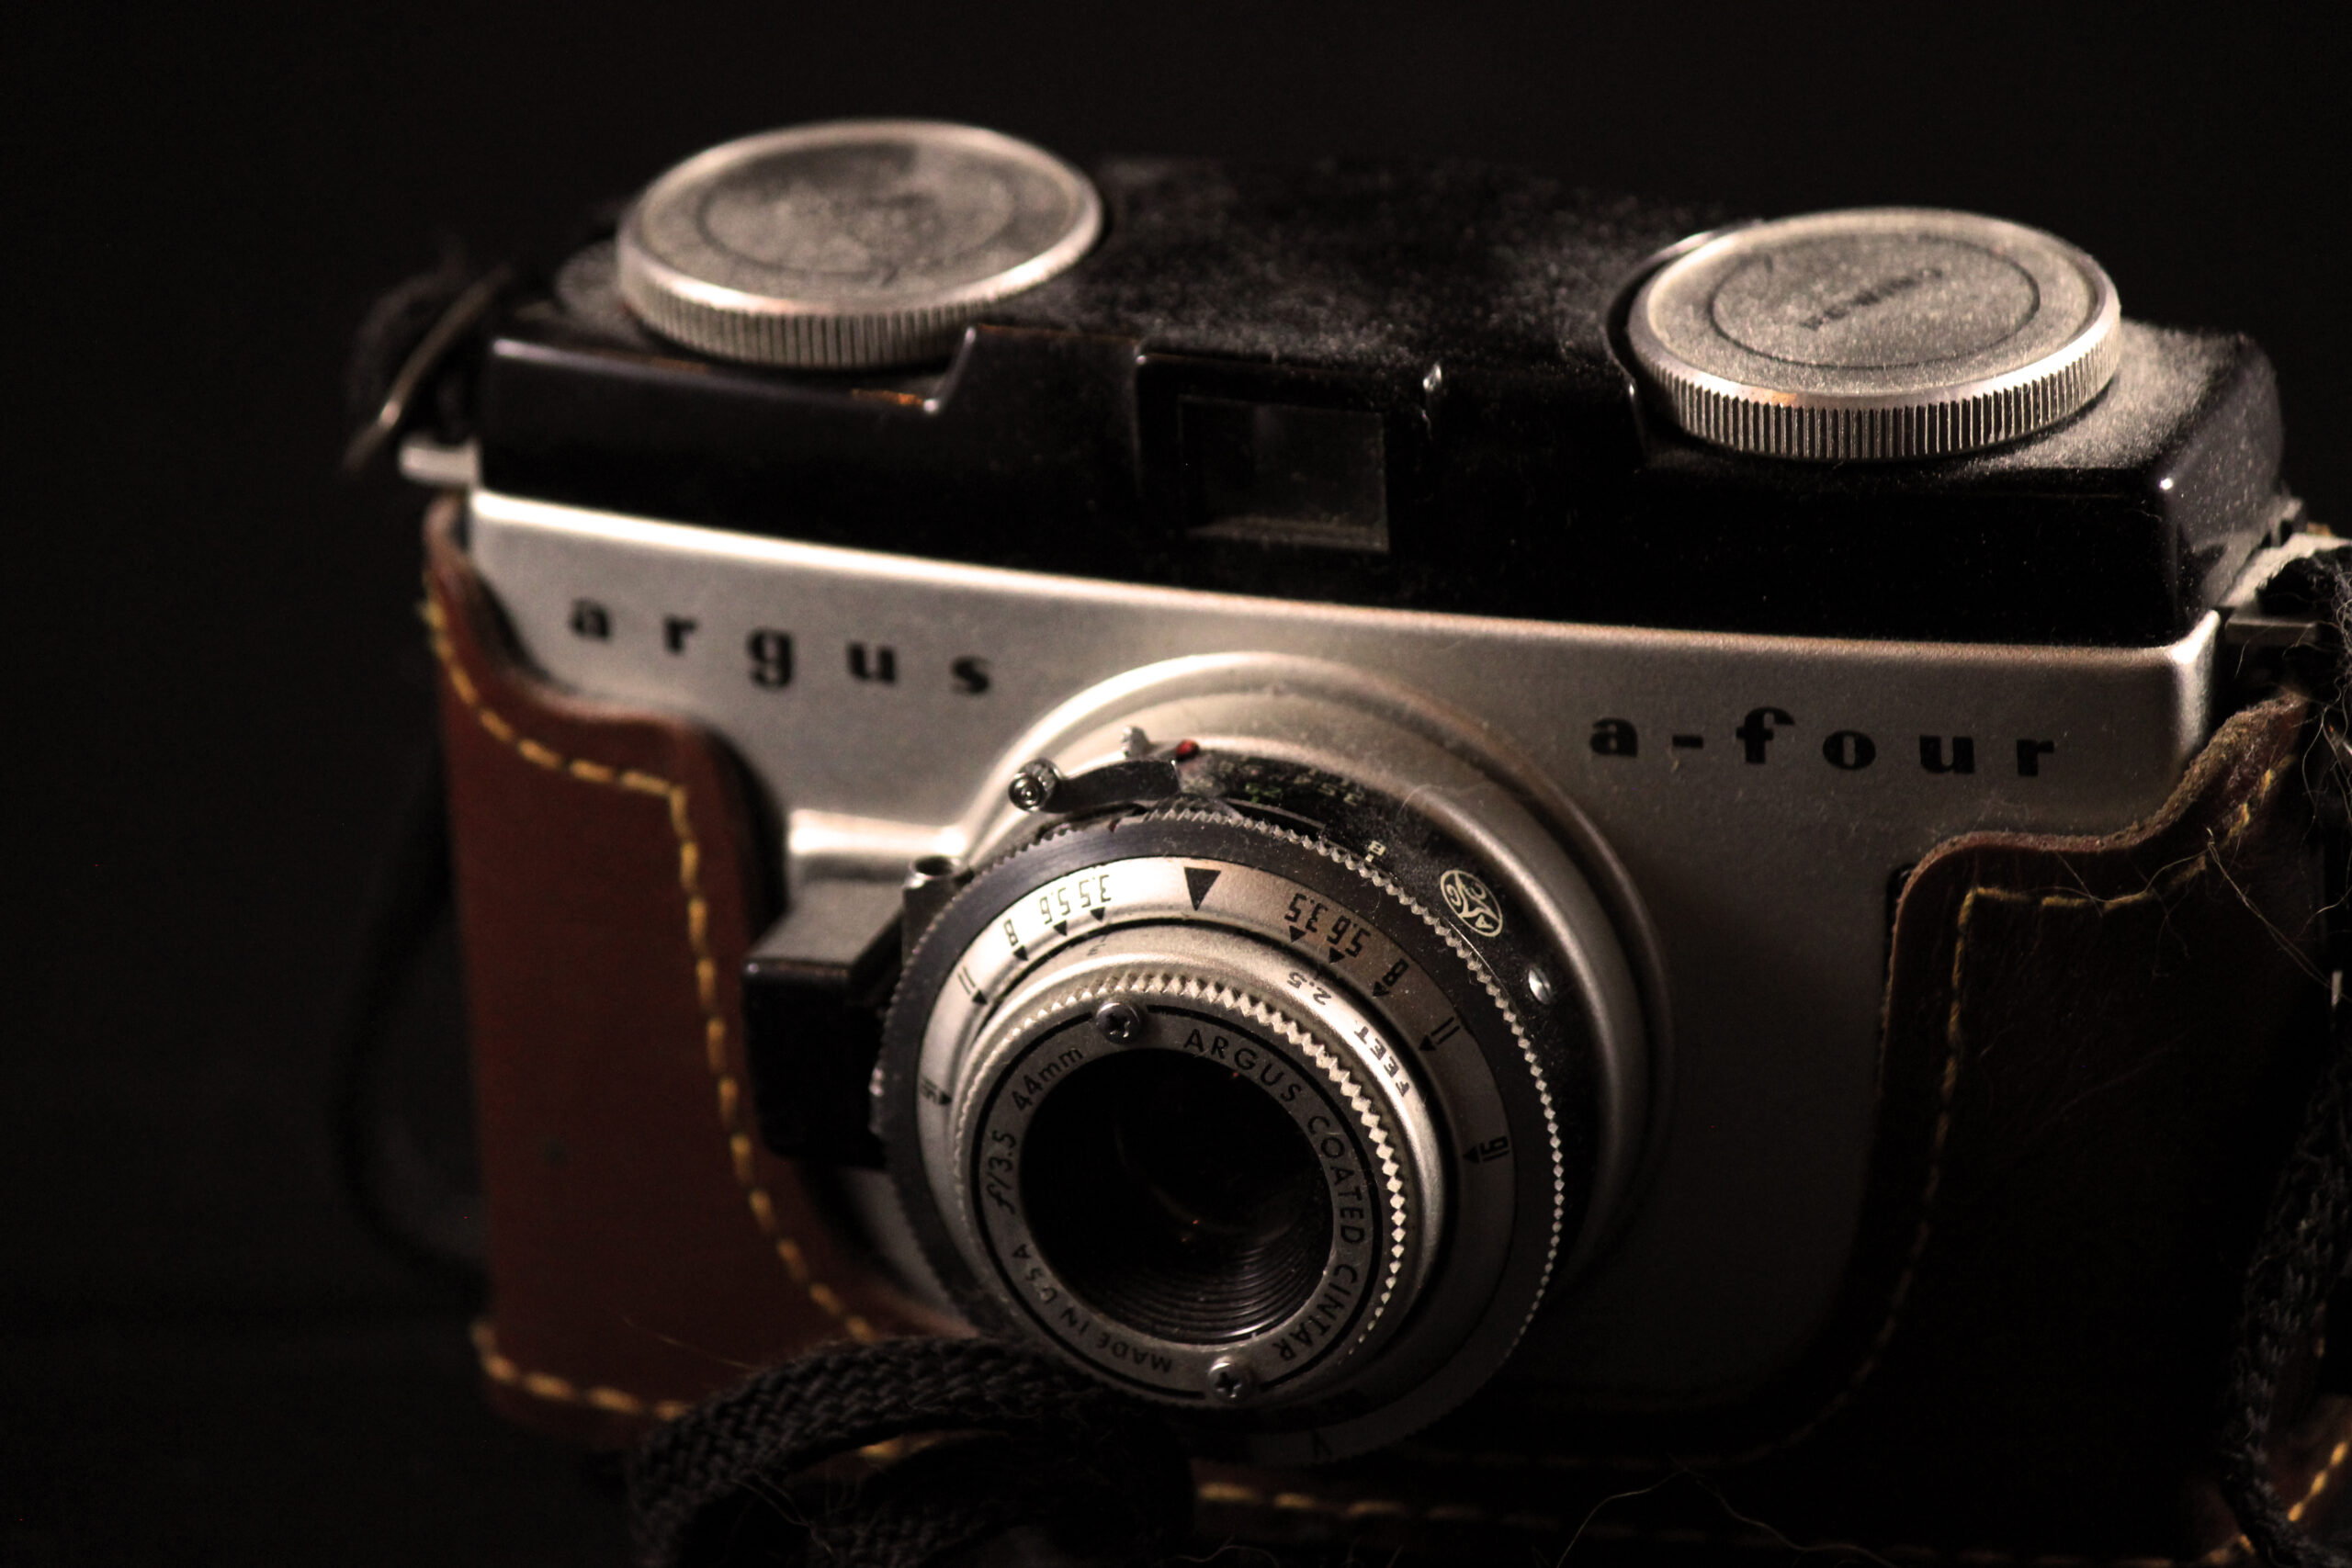
Try to Define New Angles on Old Objects
Along with experimenting with lighting, this also gives you plenty of ways to experiment with the subject itself.
Don’t be afraid to take a new angle on an old item—for example, coins. Have you tried macro shots? Stacking? Unique angles?
There are so many ways you can make a classic object new again, and give you an edge when trying to stand out from other photographer, portfolios, and designers.
Don’t Forget About Your Background
It’s easy to get lost in the object and subject itself, but with a photo box, the background is just as important—if not more so—than the subject itself.
Usually a photo box will come with different colors of tarp. Blue, red, black, white; all of these are usually an option. Don’t just go with what is simple: white and black. Think about the object itself, what color scheme goes along with it, and how the color can complement your work—or clash if you’re not careful.
It’s also worth noting how color can change the feel and emotion of a photo. Want ambiance? Have you tried a deep burgundy?
A photo box is a fantastic tool to have in your back pocket, and something that can change the entire dynamic of your portfolio. From products, to enticing new angles, a photo box is an essential skill to have, and one that can be an exciting new adventure!
See how else you can expand your skills in my blog today.


You May Also Like

Do You Really Need That $10,000 Lens? Probably Not.

How to Get Users to Stop Scrolling, and Stick To Your Content